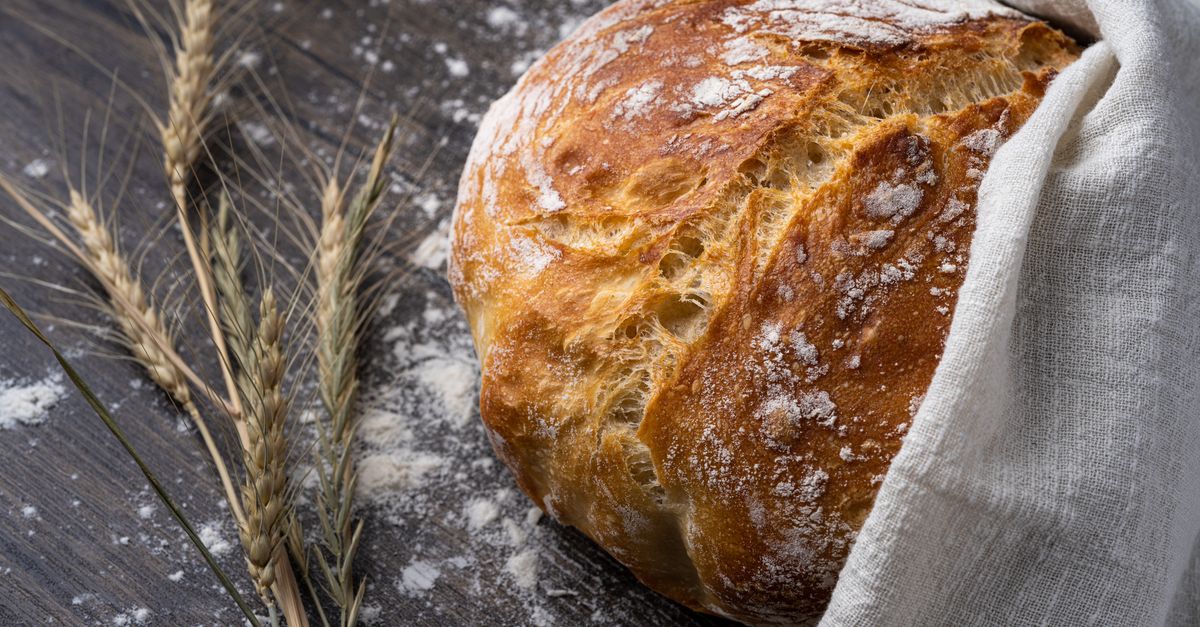
Why Your Homemade Bread is Dense and Crumbly (And The Simple Secrets to a Light, Airy Loaf Every Time)
There’s nothing quite like the aroma of freshly baked bread filling your home. It’s a primal comfort, a promise of warmth and nourishment. Yet, for many home bakers, that promise often ends in disappointment. You pull your loaf from the oven, admire its golden crust, only to slice into a dense, heavy crumb that feels more like a brick than a cloud. It’s crumbly, hard, and utterly lacking that delightful airy texture you crave. You followed the recipe, measured everything carefully, perhaps even invested in good flour – so what went wrong?
In my years of experimenting with bread, I’ve made more than my share of ‘doorstops.’ I’ve meticulously followed instructions, only to find my loaves falling flat, both literally and figuratively. What I’ve learned, often through frustrating trial and error, is that the culprits behind dense, crumbly bread are rarely the big, obvious mistakes. Instead, they’re often subtle nuances in technique, overlooked environmental factors, or common misconceptions about how yeast and gluten truly behave. It’s not about buying fancy equipment or mastering complex folds; it’s about understanding the fundamental science that underpins a truly great loaf. It’s about recognizing the hidden signals your dough is sending you and responding to them with confidence. Once I unlocked these secrets, my bread transformed from heavy to heavenly, and yours can too.
Key Takeaways
- Resist the urge to add more flour during kneading; it’s often the root cause of dense, dry bread.
- Trust fermentation time over a fixed schedule, as environmental factors significantly impact dough development.
- Develop gluten thoroughly through effective kneading to build a strong, elastic structure for an airy crumb.
- Master gentle handling techniques post-fermentation to preserve precious air bubbles for optimal texture.
The Flour Fallacy: Why Too Much Flour Kills Your Crumb
This is, without a doubt, the single biggest mistake I see aspiring bread bakers make, and it took me years to truly understand its devastating impact. When your dough feels sticky, your instinct is to add more flour. After all, a dry, manageable dough seems easier to work with, right? Wrong. Adding excessive flour, especially during the initial mixing and kneading stages, is a direct ticket to a dense, crumbly loaf. Here’s why.
Think of your dough as a delicate ecosystem. The water in your recipe isn’t just there to hydrate the flour; it’s crucial for activating gluten and allowing the yeast to thrive. When you continuously add flour to combat stickiness, you’re fundamentally altering the hydration ratio, making the dough stiffer and drier. This has a cascading effect:
- Inhibits Gluten Development: Gluten, the protein network responsible for bread’s structure and elasticity, needs water to form. A dry dough restricts gluten development, leading to a weak structure that can’t trap gas effectively. Without this stretchy network, your bread won’t rise properly and will remain dense.
- Stifles Yeast Activity: Yeast requires moisture to activate and produce carbon dioxide gas. A dry, tight dough makes it harder for the yeast to work, resulting in a slower, less vigorous rise and fewer air pockets.
- Dries Out the Final Product: Any excess flour you incorporate remains in the dough, contributing to a dry, heavy, and crumbly texture in the finished bread. It’s like adding sand to cake batter – it just absorbs moisture and adds weight.
What I Wish I Knew Sooner: The stickiness isn’t a flaw; it’s often a sign of properly hydrated dough. Instead of adding more flour, learn to work with the stickiness. Embrace it. What changed everything for me was adopting specific techniques to handle wet dough without adding a single extra gram of flour. Use a bench scraper to gather and turn the dough, wet your hands slightly, or use a thin layer of oil on your work surface. If a recipe calls for a specific amount of flour, stick to it. If the dough seems impossibly sticky, let it rest for 10-15 minutes (autolyse). This allows the flour to fully hydrate and the gluten to start developing on its own, making the dough much easier to handle without extra flour. I can’t stress this enough: less is more when it comes to flour on your work surface or in your sticky dough.
The Unseen Factor: Why Oven Temperature and Humidity Matter More Than You Think
Many home bakers obsess over ingredients and kneading, but often overlook the crucial role of the baking environment itself. The temperature and humidity within your oven, especially in the first 10-15 minutes of baking, dictate how your loaf expands and how its crust develops. Fail here, and even perfectly proofed dough can yield a disappointingly dense or gummy crumb.
When bread first enters a hot oven, it undergoes what bakers call ‘oven spring’—a final, rapid burst of expansion. This happens because the yeast activity ramps up in the heat, producing a surge of CO2, and any remaining moisture in the dough rapidly converts to steam, puffing up the gluten network. For optimal oven spring and an airy crumb, you need two key things:
- High Initial Heat: A very hot oven provides the immediate thermal shock needed for maximum expansion. If your oven isn’t preheated properly or loses too much heat when you open the door, oven spring will be inhibited.
- Moisture/Steam: This is the game-changer. Steam in the oven keeps the surface of the dough soft and elastic for longer, allowing it to expand without cracking prematurely. Without steam, the crust forms too quickly, solidifying before the dough has fully risen. This traps gas, leading to a denser interior, and often results in a thick, brittle crust.
What Changed Everything For Me: I used to just preheat my oven and pop in the bread. My results were inconsistent, often dense. What truly transformed my bread was consistently introducing steam. My method is simple: I place a cast iron pan or an old metal tray on the bottom rack of my oven while it preheats. Just before I slide the bread in, I pour about a cup of boiling water into that hot pan and quickly shut the door. The burst of steam creates the ideal environment for the dough to expand beautifully, resulting in a significantly lighter, airier crumb and a thinner, crisper crust. For rustic loaves, a Dutch oven also achieves this perfectly, trapping the dough’s own steam. Don’t underestimate this step; it’s the difference between merely baking bread and truly creating it.
The Gluten Mystery: Why Undernourished Dough Falls Flat
Gluten is the unsung hero of airy bread. It’s the stretchy, elastic network that forms when two proteins in flour, glutenin and gliadin, come into contact with water and are then manipulated through kneading. Think of it like tiny balloons; these balloons inflate with carbon dioxide gas produced by the yeast, creating the airy pockets we associate with good bread. If your gluten isn’t properly developed, those balloons won’t form or won’t be strong enough to hold the gas, leading to a dense, sad loaf.
Most recipes will tell you to knead for X minutes, but in my experience, time is a poor indicator of gluten development. Factors like flour type, hydration, and even ambient temperature can wildly change how long it truly takes. The mistake I see most often is stopping kneading too soon because the dough feels right, or simply because the timer went off. Undernourished gluten manifests as dough that tears easily, lacks elasticity, and struggles to hold its shape.
What Actually Works: Forget the clock; focus on the feel and appearance of the dough. My go-to test for proper gluten development is the ‘windowpane test.’ Take a small piece of dough, gently stretch it with your fingers, rotating as you go. If you can stretch it thin enough to see light through it without it tearing, congratulations, your gluten is developed! If it tears easily, keep kneading. This might mean kneading for 15-20 minutes by hand, or 8-10 minutes in a stand mixer, often longer than many recipes suggest. You want the dough to be smooth, elastic, and pass the windowpane test. Once I started truly prioritizing gluten development until the dough passed this test, even if it meant more kneading, my bread’s structure and crumb improved dramatically. It becomes a supple, living thing in your hands, ready to embrace the gas produced by the yeast.
The Fermentation Fumble: Why Timing and Touch Are Everything for Rise
Fermentation is where the magic truly happens, but it’s also a stage where many home bakers inadvertently sabotage their efforts. This is the process where yeast consumes sugars in the flour, producing carbon dioxide gas and alcohol. The gas creates the air pockets in your bread, and the alcohol contributes to flavor. Too little fermentation (under-proofing) or too much (over-proofing) will both lead to a dense or crumbly crumb, albeit for different reasons.
- Under-proofing: If you don’t allow enough time for the yeast to do its work, not enough gas will be produced to properly inflate the gluten network. Your bread will feel heavy, have a tight crumb, and limited oven spring.
- Over-proofing: Conversely, if the dough ferments for too long, the yeast exhausts its food supply, and the gluten network begins to break down. The gas bubbles become too large and fragile, collapsing when handled or baked. This results in a weak structure, leading to a dense, often sunken loaf with a coarse, crumbly texture.
The Mistake I See Most Often: Relying rigidly on recipe times, like ‘proof for 1-2 hours.’ These times are highly variable based on ambient temperature, flour type, and yeast activity. A dough that proofs in 1 hour in a warm kitchen might take 3 hours in a cold one. What changed everything for me was learning to read the dough, not the clock. My rule of thumb is the ‘poke test’ for the final proof:
- Gently poke the dough with a floured finger about half an inch deep.
- Under-proofed: The indentation springs back immediately.
- Perfectly Proofed: The indentation springs back slowly, leaving a slight indent.
- Over-proofed: The indentation remains, and the dough might even deflate slightly.
Another critical insight for me was to handle the dough as gently as possible after the first rise. During shaping, I treat it with reverence, ensuring I don’t punch out all those precious air bubbles the yeast has so lovingly created. Minimal handling, gentle shaping, and a keen eye on the poke test will consistently lead to a beautifully risen, airy loaf.
The Shaping Snafu: How Sloppy Technique Steals Your Structure
Many bakers, myself included in the early days, tend to rush through the shaping stage, viewing it as a mere formality before the final rise. Yet, improper shaping can completely undermine all your careful work in mixing, kneading, and fermentation. A poorly shaped loaf lacks the internal tension and structure needed to hold its form and support an airy crumb.
Think of shaping as creating a tight ‘skin’ around your dough, much like pulling a balloon taut. This tension isn’t just for aesthetics; it provides the structural integrity that helps the loaf hold its shape during the final proof and prevents it from spreading out rather than rising up in the oven. Without this surface tension, the gas produced by the yeast can escape, or the dough simply collapses under its own weight, leading to a dense, flat result.
The Hidden Cost: A dense crumb. If your dough is too loose, the gases can’t build up enough internal pressure to expand properly. Instead, they escape, leaving you with a heavy interior. The final product might look okay on the outside, but it will lack the light, open structure you’re aiming for.
What Changed Everything For Me: I used to just kind of fold the dough haphazardly. My loaves would often spread rather than spring. What made a huge difference was focusing on creating strong surface tension. For a boule (round loaf), I learned to gently pull the top of the dough towards me and then roll it away, rotating the dough while keeping the bottom edge anchored. This creates a taut top surface. Then, I cup my hands around the base and drag the dough towards me across an unfloured surface (or very lightly floured), building tension on the bottom. For a batard (oval loaf), it involves careful folding and sealing to create that same tight skin. It’s about being deliberate with every fold and tuck, ensuring the ‘seam’ is on the bottom. Taking an extra 30-60 seconds during shaping to build this tension consistently yields a much better rise and a more open, airy crumb. It makes the difference between a sad, squat loaf and one that stands tall and proud.
The Post-Bake Blunder: Why Slicing Too Soon Leads to Gummy Bread
So you’ve baked your masterpiece. The crust is golden, the aroma intoxicating, and you can almost hear the crackle. Your instinct, naturally, is to slice into it immediately and savor the moment. Resist! This seemingly innocent act is a common culprit for gummy, seemingly undercooked bread, even if it was perfectly baked.
When bread comes out of the oven, it’s still undergoing internal processes. The moisture inside is incredibly hot and still evaporating. The starch molecules are still setting. Slicing into a hot loaf is like opening a pressure cooker too soon: it allows that trapped moisture to escape too rapidly, disrupting the setting starches. This leads to:
- Gummy Texture: The interior can become dense, sticky, and wet, resembling raw dough even if it’s cooked through.
- Flavor Loss: The complex flavors developed during baking and caramelization need time to redistribute and mellow. Slicing too soon short-circuits this process.
- Poor Slicing Quality: A hot loaf will compress and tear when sliced, rather than yielding clean, even slices.
The Simple Fix That Changed Everything: Patience. After all that hard work, this is the final, crucial step. My rule of thumb is to let a standard-sized loaf cool on a wire rack for at least 1-2 hours, ideally longer, before slicing. For larger, denser loaves (like sourdough boules), I often wait 3-4 hours, sometimes even overnight if possible. This cooling period allows the internal moisture to redistribute evenly, the starches to fully set, and the flavors to mature. The difference is astounding: the crumb will be noticeably less gummy, more resilient, and the overall texture will be exactly what you envisioned – light, airy, and perfect. It might be the hardest part of the process, but it’s arguably one of the most important for truly exceptional homemade bread.
Frequently Asked Questions
Q: My bread looks beautiful but is still dense inside. What am I missing?
A: Often, a dense interior with a good crust points to insufficient gluten development or under-proofing. Revisit your kneading technique, ensuring the dough passes the ‘windowpane test’ before the first rise. For proofing, rely on the ‘poke test’ rather than fixed times, allowing the dough to ferment fully but not over-proof. Also, ensure you’re introducing steam in the oven for maximum oven spring.
Q: Why does my homemade bread come out crumbly and dry, even with enough hydration?
A: Crumbliness and dryness often stem from adding too much extra flour during kneading or shaping, which changes the overall hydration ratio. Try to work with stickier dough by using a bench scraper, lightly wet hands, or a tiny bit of oil on your surface instead of more flour. It can also be a sign of over-baking, so double-check your oven temperature with a thermometer and bake to an internal temperature of 200-210°F (93-99°C).
Q: How do I know if my dough is kneaded enough by hand?
A: The best indicator for hand-kneaded dough is the ‘windowpane test.’ Take a small piece of dough and gently stretch it. If you can stretch it thin enough to see light through it without it tearing, your gluten is sufficiently developed. If it tears easily, keep kneading until it passes this test. The dough should also feel smooth and elastic, not shaggy or tearing.
Q: My bread rises well in the bowl but then collapses in the oven. What’s wrong?
A: This is a classic sign of over-proofing. The gluten network becomes too stretched and weak to support the structure, and the gas bubbles burst during the heat shock of the oven. Ensure you’re using the ‘poke test’ for your final proof to catch the dough at its peak, and handle it very gently during shaping to avoid deflating it.
Q: Is there a secret ingredient for lighter bread?
A: While there’s no single ‘secret ingredient,’ using bread flour (which has higher protein content for stronger gluten) and a small amount of diastatic malt powder can significantly improve crumb texture and browning. Diastatic malt provides enzymes that break down starches into sugars, giving the yeast more fuel and contributing to a more active rise and better crust development. However, technique is always more important than a single ingredient.
Written by Evelyn Reed
Mindfulness & Personal Well-being
A former editor for a prominent lifestyle magazine, Evelyn brings a keen eye for compelling narratives and practical advice to our team.
You Might Also Like

Why Your DIY Car Detailing Fails Most People (And What Actually Works for a Showroom Shine)
Ever wondered why your DIY car wash never quite matches a professional detail? Discover the crucial mistakes most people make and the techniques that truly deliver a showroom shine.

Why Your Home Still Feels Stuffy (Even After Opening Windows) — And What Actually Works for Real Fresh Air
Discover why your home feels stuffy despite open windows and learn the practical, non-obvious strategies for true, lasting fresh air.
Why Your Home Still Feels Stuffy (Even After Opening Windows) — And What Actually Works for Real Fresh Air
Discover why your home still feels stuffy even with open windows and learn actionable, counter-intuitive strategies for truly fresh indoor air.